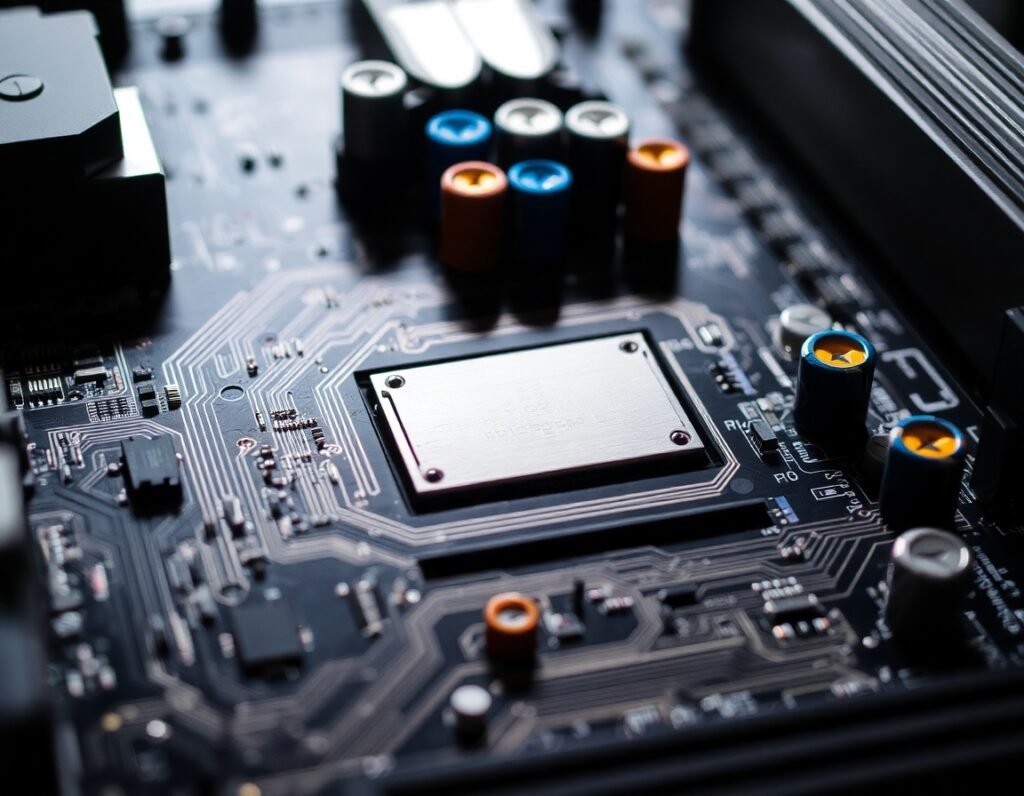
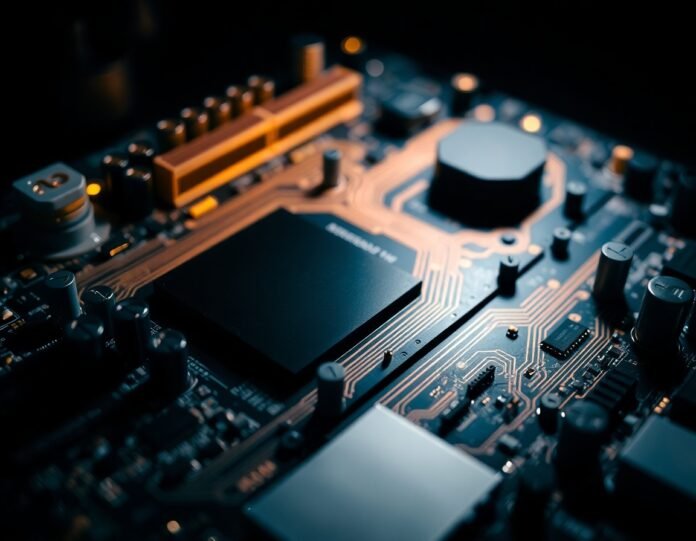
The DRAM light on a motherboard can be a puzzling and frustrating sight, especially if you’re unsure what it means. Whether you’re assembling a new PC, troubleshooting an existing setup, or simply learning about computer components, understanding this indicator is crucial. This article dives into what the DRAM light signifies, its causes, and step-by-step solutions to get your PC up and running.
What Is the DRAM Light on a Motherboard?
The DRAM light on your motherboard is an LED indicator designed to signal issues related to your system’s memory (RAM). DRAM stands for dram light on motherboard, the short-term memory of your computer that allows it to run programs and processes efficiently.
On most modern motherboards, diagnostic LEDs or Q-LEDs help identify problems during the Power-On Self-Test (POST). If the DRAM light is illuminated, it means the motherboard has detected an issue with the installed RAM or memory subsystem.

Causes of a DRAM Light on the Motherboard
The DRAM light can indicate several potential issues, including:
Improperly Installed RAM
One of the most common reasons for the DRAM light is that the RAM sticks are not seated correctly in their slots.
Incompatible RAM
Not all RAM modules are compatible with every motherboard. Using unsupported memory can trigger the DRAM light.
Faulty RAM Modules
Defective or damaged RAM can cause your motherboard to fail the POST process, illuminating the DRAM light.
BIOS Configuration Issues
A misconfigured BIOS or outdated firmware may fail to properly initialize the RAM, leading to the DRAM light turning on.
Motherboard Slot Problems
Faulty DIMM slots on the motherboard can prevent RAM from functioning correctly.
Voltage or Power Issues
Insufficient power delivery to the RAM or incorrect voltage settings can result in the DRAM light being activated.
How to Fix the DRAM Light on Your Motherboard
Below are detailed troubleshooting steps to address the DRAM light issue. Follow these steps carefully to pinpoint and resolve the problem.
Step 1: Check RAM Installation
Improperly seated RAM is a frequent cause of the DRAM light. To check:
- Power Down Your System: Turn off your PC and disconnect the power supply.
- Remove RAM Sticks: Gently release the RAM sticks by pressing the latches on both sides of the DIMM slots.
- Reinstall RAM: Ensure the notch on the RAM aligns with the slot. Press down firmly until the latches click into place.
- Restart Your PC: Check if the DRAM light persists.
Step 2: Test RAM Compatibility
Verify that the RAM you’re using is compatible with your motherboard:
- Check the motherboard manual: Refer to the Qualified Vendor List (QVL) for supported RAM.
- Compare Specifications: Match your RAM’s speed, size, and type (DDR4, DDR5, etc.) with the motherboard requirements.
If your RAM is incompatible, replacing it with a supported model may resolve the issue.
Step 3: Test RAM Modules Individually
A faulty RAM module can cause the DRAM light to activate. To identify the problematic stick:
- Test One Stick at a Time: Insert a single RAM module into the first DIMM slot.
- Boot the system: Check if the DRAM light turns off.
- Repeat the Process: Test all modules individually to isolate the faulty ones.
Step 4: Reset BIOS Settings
Sometimes, incorrect BIOS settings can prevent the system from recognizing the RAM. Resetting the BIOS can resolve this issue:
- Access BIOS: Press the designated key (e.g., F2, DEL, or F12) during boot to enter the BIOS menu.
- Load Default Settings: Look for an option like “Load Optimized Defaults” or “Reset to Default.”
- Save and Exit: Reboot your system and check if the DRAM light is still on.
Alternatively, perform a CMOS reset by removing the battery on the motherboard for a few minutes.
Step 5: Update the BIOS
An outdated BIOS may not fully support your RAM. Updating it can solve compatibility issues:
- Visit the Manufacturer’s Website: Download the latest BIOS update for your motherboard model.
- Follow Update Instructions: Use a USB drive and the BIOS utility to complete the update.
- Reboot Your PC: Check if the DRAM light persists.
Step 6: Inspect DIMM Slots
If none of the above steps work, the problem could be with the DIMM slots themselves:
- Test Different Slots: Move your RAM to another slot and check if the system boots.
- Inspect for Damage: Look for physical damage or debris in the slots.
If the slots are defective, the motherboard may need professional repair or replacement.
Step 7: Verify Power Supply and Voltage
Ensure that your power supply unit (PSU) is delivering adequate power and the voltage settings in the BIOS are correct:
- Use a Reliable PSU: Make sure your PSU has enough wattage for your system’s components.
- Check Voltage Settings: Access BIOS and confirm the RAM voltage matches the specifications.
Tips for Preventing DRAM Light Issues
- Choose Compatible RAM: Always consult your motherboard’s QVL before purchasing RAM.
- Handle Components Carefully: Avoid bending pins or damaging the RAM during installation.
- Keep BIOS Updated: Regularly update your motherboard’s firmware for optimal performance.
- Clean Your System: Dust and debris can interfere with connections, so clean your PC periodically.
- Use quality components: Invest in reliable hardware from reputable brands.
Frequently Asked Questions
Can the DRAM Light Indicate Other Issues?
Yes, while the DRAM light primarily signals memory-related problems, it may also be triggered by a faulty CPU or motherboard issue in rare cases.
Is the DRAM light always red?
The colour and behaviour of the DRAM light depend on the motherboard model. It’s often red but can be amber or flashing on some boards.
Will replacing the RAM fix the DRAM light?
If the issue is caused by faulty or incompatible RAM, replacing it with supported modules should resolve the problem.
Do I Need Professional Help?
If you’ve tried all the troubleshooting steps and the DRAM light persists, consider seeking professional assistance to diagnose and repair your PC.
Conclusion
The DRAM light on a motherboard is a helpful diagnostic tool for identifying memory-related issues. Whether it’s improperly seated RAM, compatibility problems, or BIOS misconfigurations, addressing the cause of the DRAM light is usually straightforward.
By following the troubleshooting steps outlined in this guide, you can resolve the issue and ensure your PC functions optimally. Regular maintenance, using compatible components, and staying informed about your hardware can prevent future problems.
Understanding the DRAM light not only helps you troubleshoot your system but also enhances your knowledge of PC building and maintenance.
You may also read: D&D Name Generator: Create Perfect Fantasy Characters


